Ultimate Rainbow Loom Bead Bracelet Tutorial for 2024
Introduction
Crafting your own Rainbow Loom bead bracelet is not only a fun activity but also a fantastic way to create personalized, stylish accessories. Whether you’re a beginner or a seasoned crafter, this ultimate tutorial for 2024 will guide you through every step of the process. We’ll cover everything from gathering the necessary materials to adding the final touches and tips for making your bracelets durable and beautiful.
Creating these vibrant and intricate bracelets can be a great hobby for kids and adults alike. With a bit of patience and creativity, you’ll have an array of beautiful bracelets in no time. Ready to embark on this colorful crafting journey? Let’s dive in!

Materials Needed
Before you start weaving your Rainbow Loom bead bracelet, it’s essential to gather all the necessary materials. Having everything ready ensures a smooth and enjoyable crafting experience.
Here’s what you’ll need:
1. Rainbow Loom kit (including the loom, hook, and bands)
2. Assorted beads (make sure the holes are wide enough for the bands)
3. C-clips or S-clips for securing the bracelet
4. A small, organized workspace
Having a well-prepared crafting space with all your materials within reach will make the process easier and more enjoyable.

Setting Up Your Loom
Setting up your loom correctly is crucial for the success of your bracelet. Proper setup ensures that your bands and beads will be secure and evenly spaced, giving your bracelet a professional look.
- Position the loom so that the red arrow (or a similar marking) points away from you.
- Make sure all the pegs are aligned and secured in place.
- Place your bands on the pegs according to the pattern you’ve chosen.
- Double-check that the bands are correctly stretched between the pegs.
Once your loom is set up correctly, you’re ready to start adding beads and weaving your bracelet.
Step-by-Step Guide
Crafting a beautiful Rainbow Loom bead bracelet involves a few detailed steps. Follow this guide closely to create your masterpiece.
Choosing Your Pattern
The first step is to decide on a pattern for your bracelet. Patterns can range from simple to complex, depending on your skill level. Whether you prefer basic designs or more intricate patterns, there is something for everyone:
- Simple patterns might involve alternating colors or using a single color with spaced-out beads.
- Complex patterns can include intricate designs like fishtail, starburst, or diamond patterns infused with beads.
Choose a pattern that matches your skill level and aesthetic preference. Once you’ve selected a pattern, it’s time to start attaching beads.
Selecting and Attaching Beads to Bands
Adding beads to your bands can elevate your bracelet’s appearance and add a touch of elegance.
- Choose beads that complement your band colors.
- Thread a bead onto your hook and then slip it onto a band.
- Ensure the bead sits securely in the middle of the band.
Repeat this process for the number of beads your pattern requires. Attaching beads uniformly will ensure a balanced and stylish look.
Weaving the Bracelet
Now that your bands and beads are ready, it’s time to weave the bracelet.
- Anchor Band: Start with the first band and loop it from the first peg to the second.
- Weaving Bands: Continue placing bands on the pegs according to your pattern.
- Hooking: Use the hook to weave the bands together, ensuring that the beads face outward.
- Securing: After completing the weaving, use a C-clip or S-clip to secure the ends of the bracelet.
Careful threading and hooking will result in a tight, neat weave that highlights both the bands and beads beautifully.
Tips and Tricks
To ensure your Rainbow Loom bead bracelet turns out perfect every time, consider these helpful tips and tricks:
- Consistent Tension: Keep the tension of your bands consistent to avoid uneven weaving.
- Check for Gaps: Ensure there are no gaps between your bands and beads for a neat finish.
- Practice Makes Perfect: If a pattern seems complicated, practice with plain bands first.
Incorporating these tips will help you create professional-grade bracelets that you can proudly wear or gift.
Finishing Touches
Once you’ve completed the weaving, a few finishing touches can enhance the look of your bracelet. To make sure your hard work shines through, pay attention to these final steps:
- Double-check the security of the beads and bands.
- Gently stretch the bracelet to ensure it fits well.
- Trim any loose or frayed bands for a clean finish.
These final steps will ensure that your bracelet looks polished and is ready to showcase.

Gallery of Inspirations
Looking for inspiration for your next bracelet? Here are some creative ideas that can add a new twist to your Rainbow Loom projects:
- Holiday-themed Bracelets: Use colors and beads to reflect holidays like Christmas, Halloween, or Valentine’s Day.
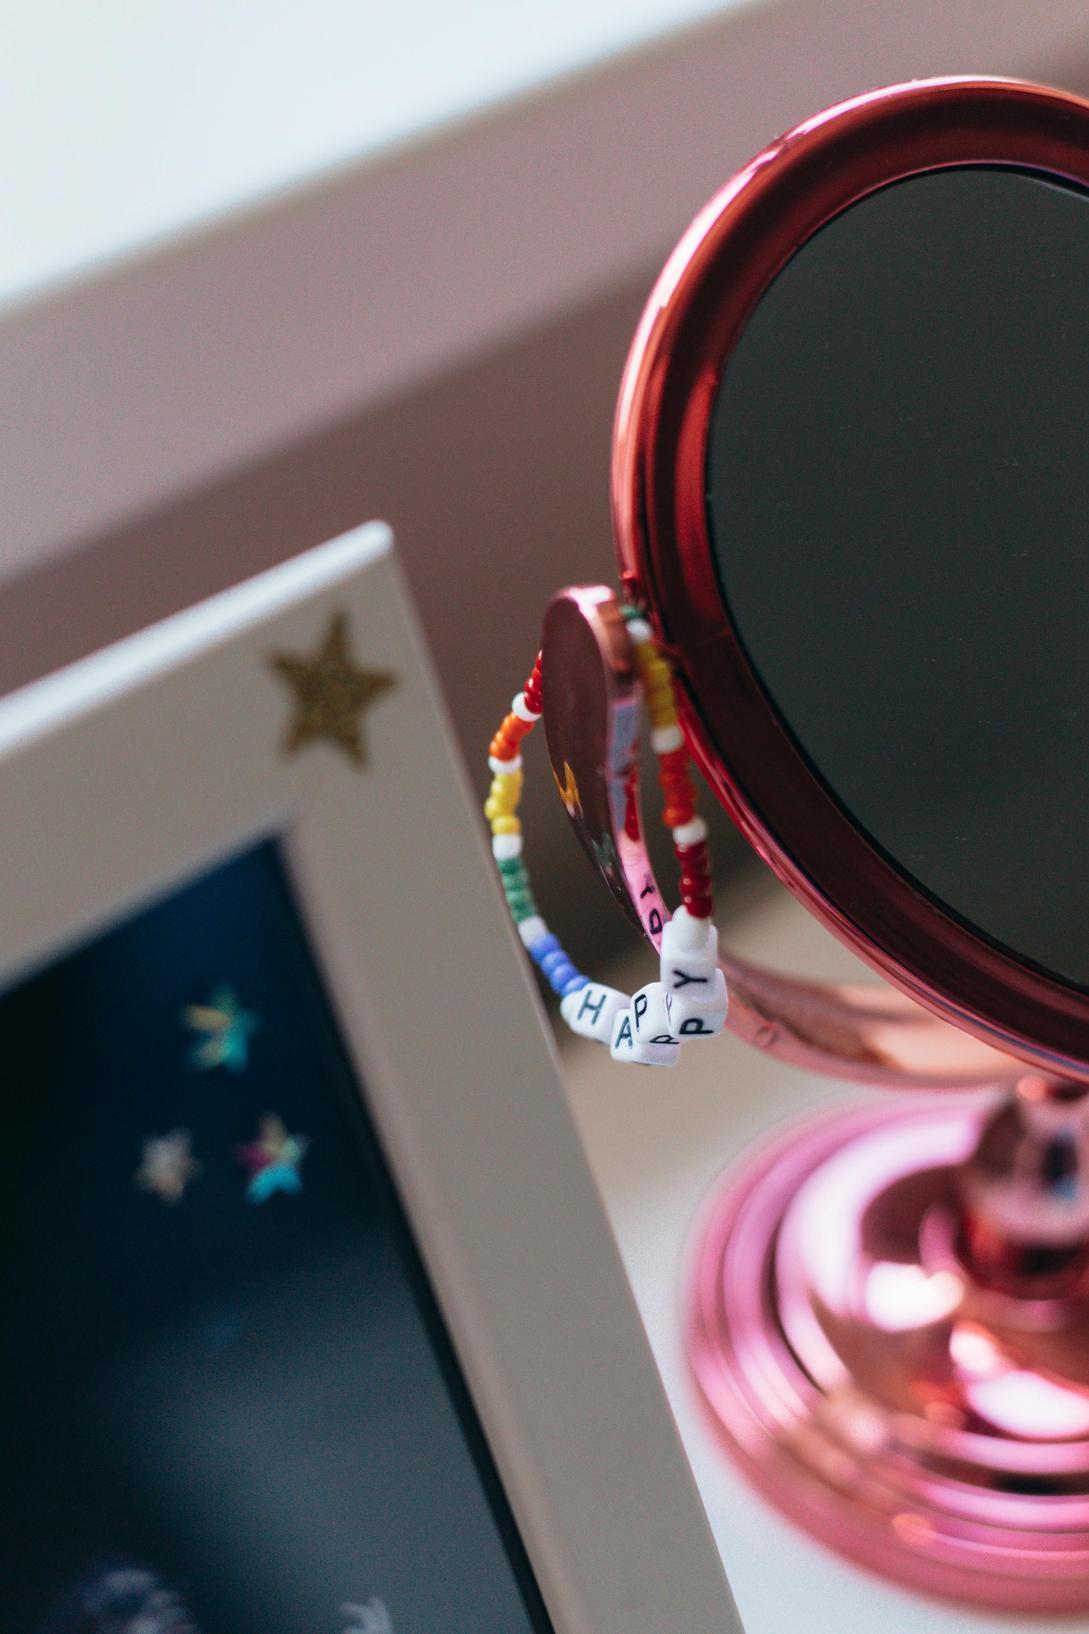
- Name Bracelets: Arrange beads to spell out names or initials.
- Seasonal Colors: Choose colors that represent different seasons, such as pastels for spring or warm tones for autumn.
These ideas can spark your creativity and help you come up with unique designs.
Conclusion
Creating Rainbow Loom bead bracelets is a rewarding and enjoyable hobby. With this ultimate tutorial for 2024, you have all the information you need to start crafting beautiful, personalized bracelets. Remember to gather your materials, set up your loom correctly, and take your time with each step. Happy crafting!
Frequently Asked Questions
What type of beads work best with Rainbow Loom bracelets?
The best beads for Rainbow Loom bracelets are those with larger holes that can easily accommodate the rubber bands. Glass, plastic, or wooden beads are ideal, as long as the bands can pass through without difficulty.
How can I prevent my bracelet from breaking?
To prevent your bracelet from breaking, ensure that the bands are not overstretched and that the tension is consistent during weaving. Secure the ends with sturdy C-clips or S-clips and avoid pulling the bracelet excessively.
Is Rainbow Loom safe for young children?
Yes, Rainbow Loom is generally safe for children, but it’s recommended for those aged 8 and above due to the small parts and the manual dexterity required.
