How to Make Photo Charms for Bracelets: A Complete DIY Guide
Introduction
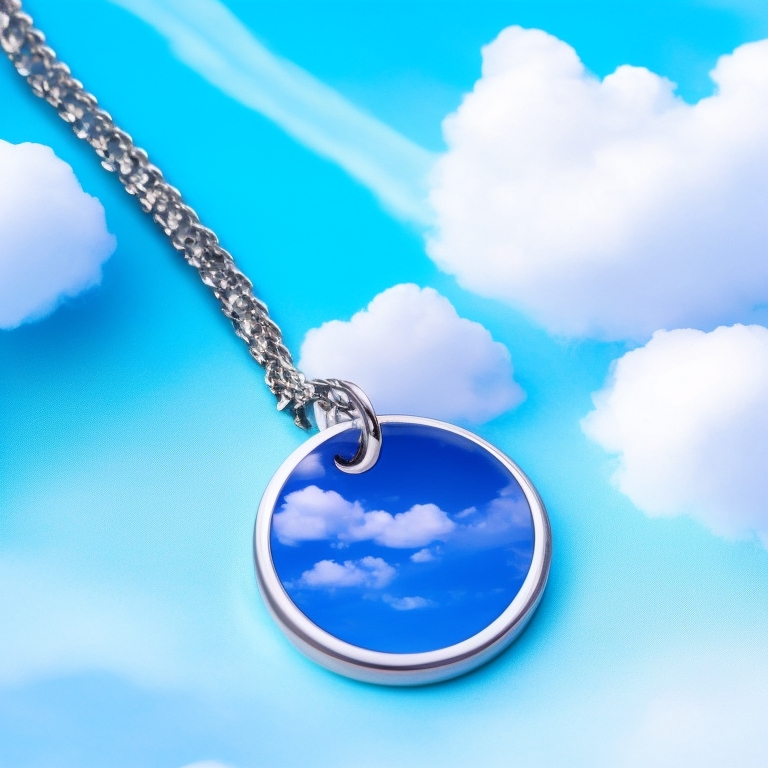
Creating personalized photo charms for bracelets can be a delightful and fulfilling crafting activity. Whether you’re making a unique gift for a loved one or simply adding a personal touch to your own jewelry, photo charms serve as beautiful keepsakes. This guide will walk you through each step of the process, ensuring you craft a high-quality photo charm that will last.

Why Make Photo Charms?
Photo charms are more than just decorative items; they carry a sentimental value that can make any bracelet special. These charms turn ordinary snapshots into wearable art, allowing you to keep loved ones close at hand or commemorate significant life events. Plus, making your own photo charms offers a customized option that you can’t easily find in stores.
Gathering Your Supplies
Before you start making photo charms, it’s crucial to gather all the necessary supplies. Here’s a list of items you’ll need for this DIY project:
- Photos: Choose your favorite pictures.
- Charm base: These can be found in craft stores or online.
- Mod Podge or similar adhesive: This helps to adhere the photo to the base.
- Sealant: A UV-resistant resin or clear nail polish works well.
- Jump rings and pliers: These are essential for attaching the charm to the bracelet.
- Bracelet: A chain bracelet or any other style you prefer.
- Scissors and tweezers: For cutting and placing the photo.
- Small brush: For applying adhesives and sealants.
- Printer and photo paper: If you’re printing your own photos.
Ensure you have all these supplies within reach to streamline the crafting process.
Preparing Your Photos
Selecting and preparing your photos is a critical step. Here’s how to go about it:
- Choose the Right Photo: Opt for high-resolution images that can be scaled down without losing detail.
- Resize: Use photo editing software to resize your image to fit the charm base. Typically, a 1-inch by 1-inch dimension works well.
- Print: Print your photos on high-quality photo paper. Make sure they are completely dry before moving to the next step.
- Cut: Carefully cut the photos to the exact size of the charm base. Precision is key here, so take your time.
Creating the Charm Base
With your photo ready, the next step is to prepare the charm base:
- Clean the Base: Use a soft cloth to remove any dust or debris.
- Apply Adhesive: Use a small brush to apply a thin layer of Mod Podge or your chosen adhesive to the charm base.
- Attach the Photo: Carefully place the photo on the adhesive-coated base. Use tweezers for precise placement.
- Smooth Out Air Bubbles: Gently press the photo into the adhesive, smoothing out any air bubbles or wrinkles with your fingers or a soft cloth.
Adhering Photos to the Charm
Now that the photo is set on the base, it’s time to ensure it stays put:
- Apply Adhesive Over the Photo: Use a small brush to coat the top of the photo with another layer of Mod Podge. This acts as a sealant and adhesive.
- Drying Time: Allow the adhesive to dry completely. This might take anywhere between 20 minutes to an hour. Make sure it’s fully cured before proceeding to the sealing step.
- Multiple Coats: For added durability, consider applying a second or third coat of adhesive, allowing each layer to dry thoroughly.
Sealing and Protecting the Charm
To extend the lifespan of your photo charm, it’s essential to seal and protect it. Here’s how:
- Choose a Sealant: A UV-resistant resin or clear nail polish works well.
- Apply the Sealant: Using a brush, apply a thin layer of your chosen sealant over the top and sides of the photo charm.
- Dry: Let it dry according to the manufacturer’s instructions. UV resin might need curing under a UV lamp.
This step ensures your photo remains intact and vibrant over time.

Attaching the Charm to the Bracelet
The final functional step is attaching the charm to your bracelet:
- Prepare Jump Rings: Use pliers to open the jump rings.
- Attach to Charm: Thread the open jump ring through the charm’s loop.
- Attach to Bracelet: Loop the other end of the jump ring onto your bracelet.
- Close Jump Rings: Use pliers to close the jump ring securely.
Ensure the charm is securely attached to avoid losing it.
Customization Ideas
Personalizing your photo charms doesn’t have to end with the photo. Here are a few ideas to further customize your charm:
- Add Engravings: Customize the backside of the charm with an engraved name or date.
- Use Colored Resin: Seal your charm with colored resin to add a pop of color.
- Incorporate Beads: Attach complementary beads to the jump ring for a more intricate look.

Conclusion
Creating photo charms for bracelets is an enjoyable and fulfilling craft that allows for endless customization and personal expression. With this guide, you can easily transform your favorite pictures into wearable keepsakes that make any bracelet special. Happy crafting!
Frequently Asked Questions
Can I use any type of photo for making charms?
It’s best to use high-resolution photos printed on quality photo paper to ensure the image remains clear and vibrant after resizing.
How do I ensure the photo stays in place?
Using a strong adhesive like Mod Podge and sealing the charm with a UV-resistant resin will help keep the photo securely in place.
What are some creative ways to customize photo charms?
You can add engravings, use colored resin, or incorporate beads to further personalize and enhance the beauty of your photo charms.
