How to Make a Paracord Bracelet with Skull Beads
Introduction
Creating a paracord bracelet with skull beads is both a fun and functional project. Not only does it offer an opportunity to showcase creativity, but it also results in a practical accessory that can be useful in various situations. Paracord bracelets are durable, stylish, and can be a great way to showcase your personality. Whether you’re a beginner or looking to refine your skills, this guide will walk you through the process from start to finish. So, let’s dive right in and get started on your unique paracord bracelet with skull beads.

Gather Your Supplies
Before you start crafting your paracord bracelet, you’ll need to gather the necessary supplies. Having everything ready at hand will make the process smoother and more enjoyable.
Supplies You’ll Need:
- Paracord: Choose a color that you like. Most bracelets require about 10 feet of paracord.
- Skull Beads: Select skull beads that fit your theme. Ensure the holes in the beads are large enough to thread your paracord through.
- Buckle or Clasp: This will be used to fasten your bracelet. Consider a side release buckle for ease of use.
- Scissors: For cutting the paracord.
- Lighter: To seal the ends of the paracord and prevent fraying.
- Ruler or Measuring Tape: To measure your wrist and paracord.
Having all your supplies gathered and prepared ensures you can work uninterrupted and efficiently. Once you have your supplies, it’s time to prepare your paracord.

Preparing Your Paracord
Properly preparing your paracord is essential for a neat and functional bracelet. Follow these steps to get started:
- Measure Your Wrist: Use a measuring tape to determine the circumference of your wrist. Add an extra inch to this measurement for comfort and flexibility.
- Cut the Paracord: Based on your wrist measurement, cut the paracord. For a standard bracelet, you’ll want about 10 feet. This extra length allows for knots and weaving.
- Seal the Ends: Use a lighter to carefully melt and seal the ends of the paracord. This prevents the material from fraying and makes it easier to work with.
Once your paracord is prepared, you’re ready to start creating the bracelet using basic knots and techniques.
Basic Knots and Techniques
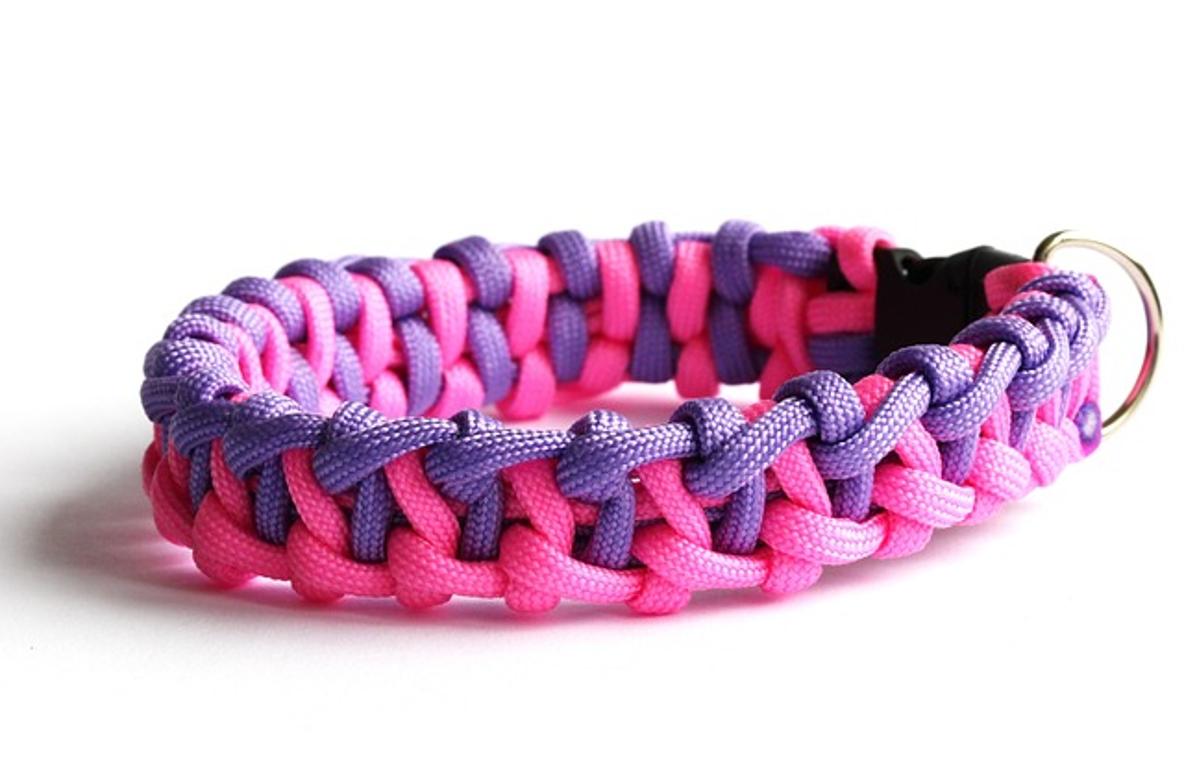
Understanding and mastering a few basic knots is crucial for creating a durable and attractive paracord bracelet. The most commonly used knot in bracelet making is the Cobra Knot.
How to Tie a Cobra Knot:
- Attach the Buckle: Fold the paracord in half and thread the loop through the buckle. Pull the ends through the loop and tighten to secure the paracord to the buckle.
- Set the Length: Thread the end of the paracord through the other part of the buckle to set the bracelet length, based on your wrist measurement.
- First Knot: Take the left cord and place it under the base cords and over the right cord. Then take the right cord, place it over the base cords, and through the loop created by the left cord.
- Second Knot: Reverse the process. Take the right cord and place it under the base cords and over the left cord. Then take the left cord and place it over the base cords and through the loop created by the right cord.
- Repeat: Continue alternating these knots, ensuring they are tight and close together.
Practicing these knots ensures your bracelet is both durable and aesthetically pleasing. Next, we will incorporate the skull beads into the bracelet.

Incorporating Skull Beads
Adding skull beads to your paracord bracelet adds a unique touch and can make the bracelet stand out. Here’s how to properly integrate them into your design:
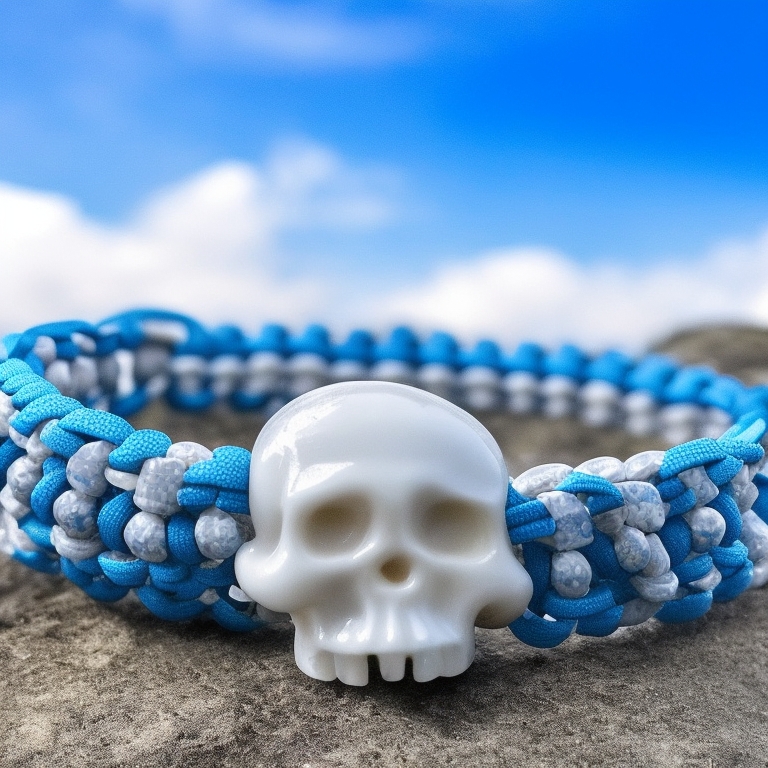
- Threading the Beads: After completing a few rows of the Cobra Knot, thread a skull bead onto one of the paracord strands.
- Positioning the Bead: Slide the bead down to the base of the bracelet where you want it positioned.
- Secure the Bead: Continue tying the Cobra Knot. Ensure the bead is in place and tight. You can add a bead every few knots or in a pattern that suits your design.
Incorporating beads can be done in symmetry or random distribution, based on your preference. Once all the beads are in place, we can focus on finishing the bracelet.
Finishing Touches
After integrating your skull beads and ensuring all knots are secure, it’s time to finish your paracord bracelet.
- Complete the Knots: Continue with the Cobra Knots until you reach the end of the bracelet.
- Trim Excess Paracord: Cut any excess paracord, leaving a small amount to work with.
- Seal the Ends: Use a lighter to carefully melt and secure the ends of the paracord. Press the melted ends against the bracelet to fuse them securely.
Finishing your bracelet involves careful attention to detail to ensure it’s comfortable and secure. With the finishing touches complete, you might be interested in customizing your bracelet further.
Tips for Customization
Customization allows you to create a one-of-a-kind paracord bracelet. Here are a few tips:
- Color Combinations: Use multiple colors of paracord for a unique look. You can combine colors at the start or add a new color midway.
- Different Beads: Besides skull beads, consider other thematic beads like bones or pirate symbols.
- Personalized Charms: Add charms or initials to personalize your bracelet further.
- Adjustable Lengths: Consider making the bracelet with adjustable knots so it can fit various wrist sizes.
Customizing your bracelet not only makes it unique but also offers a great way to represent personal style.
Conclusion
Creating a paracord bracelet with skull beads is a rewarding and creative process. With the step-by-step guide, you can now make a durable, stylish, and personalized bracelet. Gather your supplies, prepare your paracord, and start crafting today! Enjoy the process and the final product – a unique piece that you can proudly wear or gift.
Frequently Asked Questions
What type of paracord is best for bracelets with skull beads?
The best paracord for bracelets with skull beads is 550 paracord. It’s strong, durable, and has a manageable thickness for threading beads.
How do I ensure the beads stay in place?
Ensure the beads stay in place by tightening the knots that flank the bead. This secures the bead snugly between the knots.
Can I add more than one type of bead to my bracelet?
Yes, you can add multiple types of beads to your bracelet. This can enhance the design and add variety to your creation.
