Beaded Spiral Bracelet Tutorial: Step-by-Step Guide for Stunning Designs
Introduction
Creating your own beaded spiral bracelet is a deeply satisfying and creative endeavor. Not only do these designs make for stunning jewelry pieces, but the process itself is also a fantastic way to unwind and focus your mind. Whether you’re a beginner looking to learn a new craft or an experienced jewelry maker seeking fresh inspiration, this tutorial will guide you through each step. We’ll cover everything from choosing the right materials to adding those personal, finishing touches that make your bracelet uniquely yours.

Materials Needed
Before diving into the intricate art of making beaded spiral bracelets, gather all the necessary materials. Here’s what you’ll need:
- Beads: Seed beads are common, but feel free to mix sizes and shapes for variety.
- Thread: Nylon or FireLine threads are preferred for their strength and flexibility.
- Needle: A beading needle that fits through the beads multiple times.
- Scissors: For cutting the thread.
- Clasps: Lobster or toggle clasps to secure the bracelet.
- Bead Mat: To prevent beads from rolling away as you work.
- Beading Thread Conditioner: Helps to prevent tangling and fraying of your thread.
Having all these materials at hand before starting will make the process smoother and more enjoyable.
Choosing the Perfect Beads
The type of beads you choose can make or break your bracelet design. Consider the following tips for selecting the perfect beads:
- Consistency in Size: While you can mix sizes for a whimsical look, ensure the majority of beads are consistent in size to maintain a balanced spiral.
- Color Scheme: Decide on a color scheme before you start. Complementary colors or a monochromatic theme can add sophistication to your piece.
- Material: Glass, crystal, and metal beads all offer different visual effects and weight. Think about the overall look and feel you want to achieve.
- Personal Preference: Ultimately, choose beads that you love. This project is about self-expression, so make sure the beads resonate with you.

Step-by-Step Tutorial
Creating a beaded spiral bracelet is an enjoyable process. Follow these steps to craft a beautiful piece.
Preparing Your Work Area
- Clean Surface: Ensure your work area is clean and free from clutter.
- Organize Materials: Arrange your beads, thread, needle, and scissors within easy reach.
- Good Lighting: Proper lighting is crucial to see the tiny details clearly.
Creating the Initial Loop
- Thread the Needle: Cut a length of thread about an arm’s length and thread your needle.
- First Bead: Pick up a bead and move it towards the end of the thread, leaving a small tail.
- Make a Loop: Loop the thread around to pass through the bead again to create a secure knot.
Building the Spiral Foundation
- Foundation Beads: Pick up five more beads and let them drop to the bottom near your initial bead loop.
- Forming the Spiral: Loop around and pass the needle back through the first bead and repeat several times to build the base spiral.
Adding Beads and Expanding the Spiral
- Add Beads: Pick up one or two beads and pass the needle through the next bead in the spiral.
- Continue: Repeat the process, always adding beads in a consistent pattern to expand the spiral.
- Check Tightness: Keep the thread tight enough to maintain the spiral form but not so tight that it distorts the shape.
Securing the Ends and Adding Clasps
- Ending the Spiral: Once you’ve reached your desired length, tie several strong knots at the end.
- Add Clasps: Attach the clasp by passing the thread through the clasp loop and securing it with multiple passes and knots.
- Trim Excess Thread: Snip off any excess thread while ensuring the knots are secure.
Common Mistakes and How to Avoid Them
Even experienced crafters can run into issues. Here are common mistakes and how to avoid them:
- Loose Threads: Ensure your thread is consistently tight to maintain the spiral shape.
- Inconsistent Beads: Use beads of similar size for a balanced look.
- Wrong Needle Size: Choose a needle that fits through your beads multiple times without breaking them.
- Skipping Beads: Always pass through each bead in the sequence to maintain the pattern integrity.
Tips and Tricks for Perfect Spiral Bracelets
Creating the perfect spiral bracelet involves a few handy tips and tricks:
- Thread Conditioner: Use a thread conditioner to prevent tangling.
- Practice Patterns: Start with small practice patterns before committing to a full bracelet.
- Measure Twice: Regularly measure your bracelet against your wrist to ensure the right length.
- Keep Extra Beads: Always keep extra beads on hand in case of mistakes or to customize designs.
Finishing Touches and Personalization
Personalizing your bracelet adds a special touch:
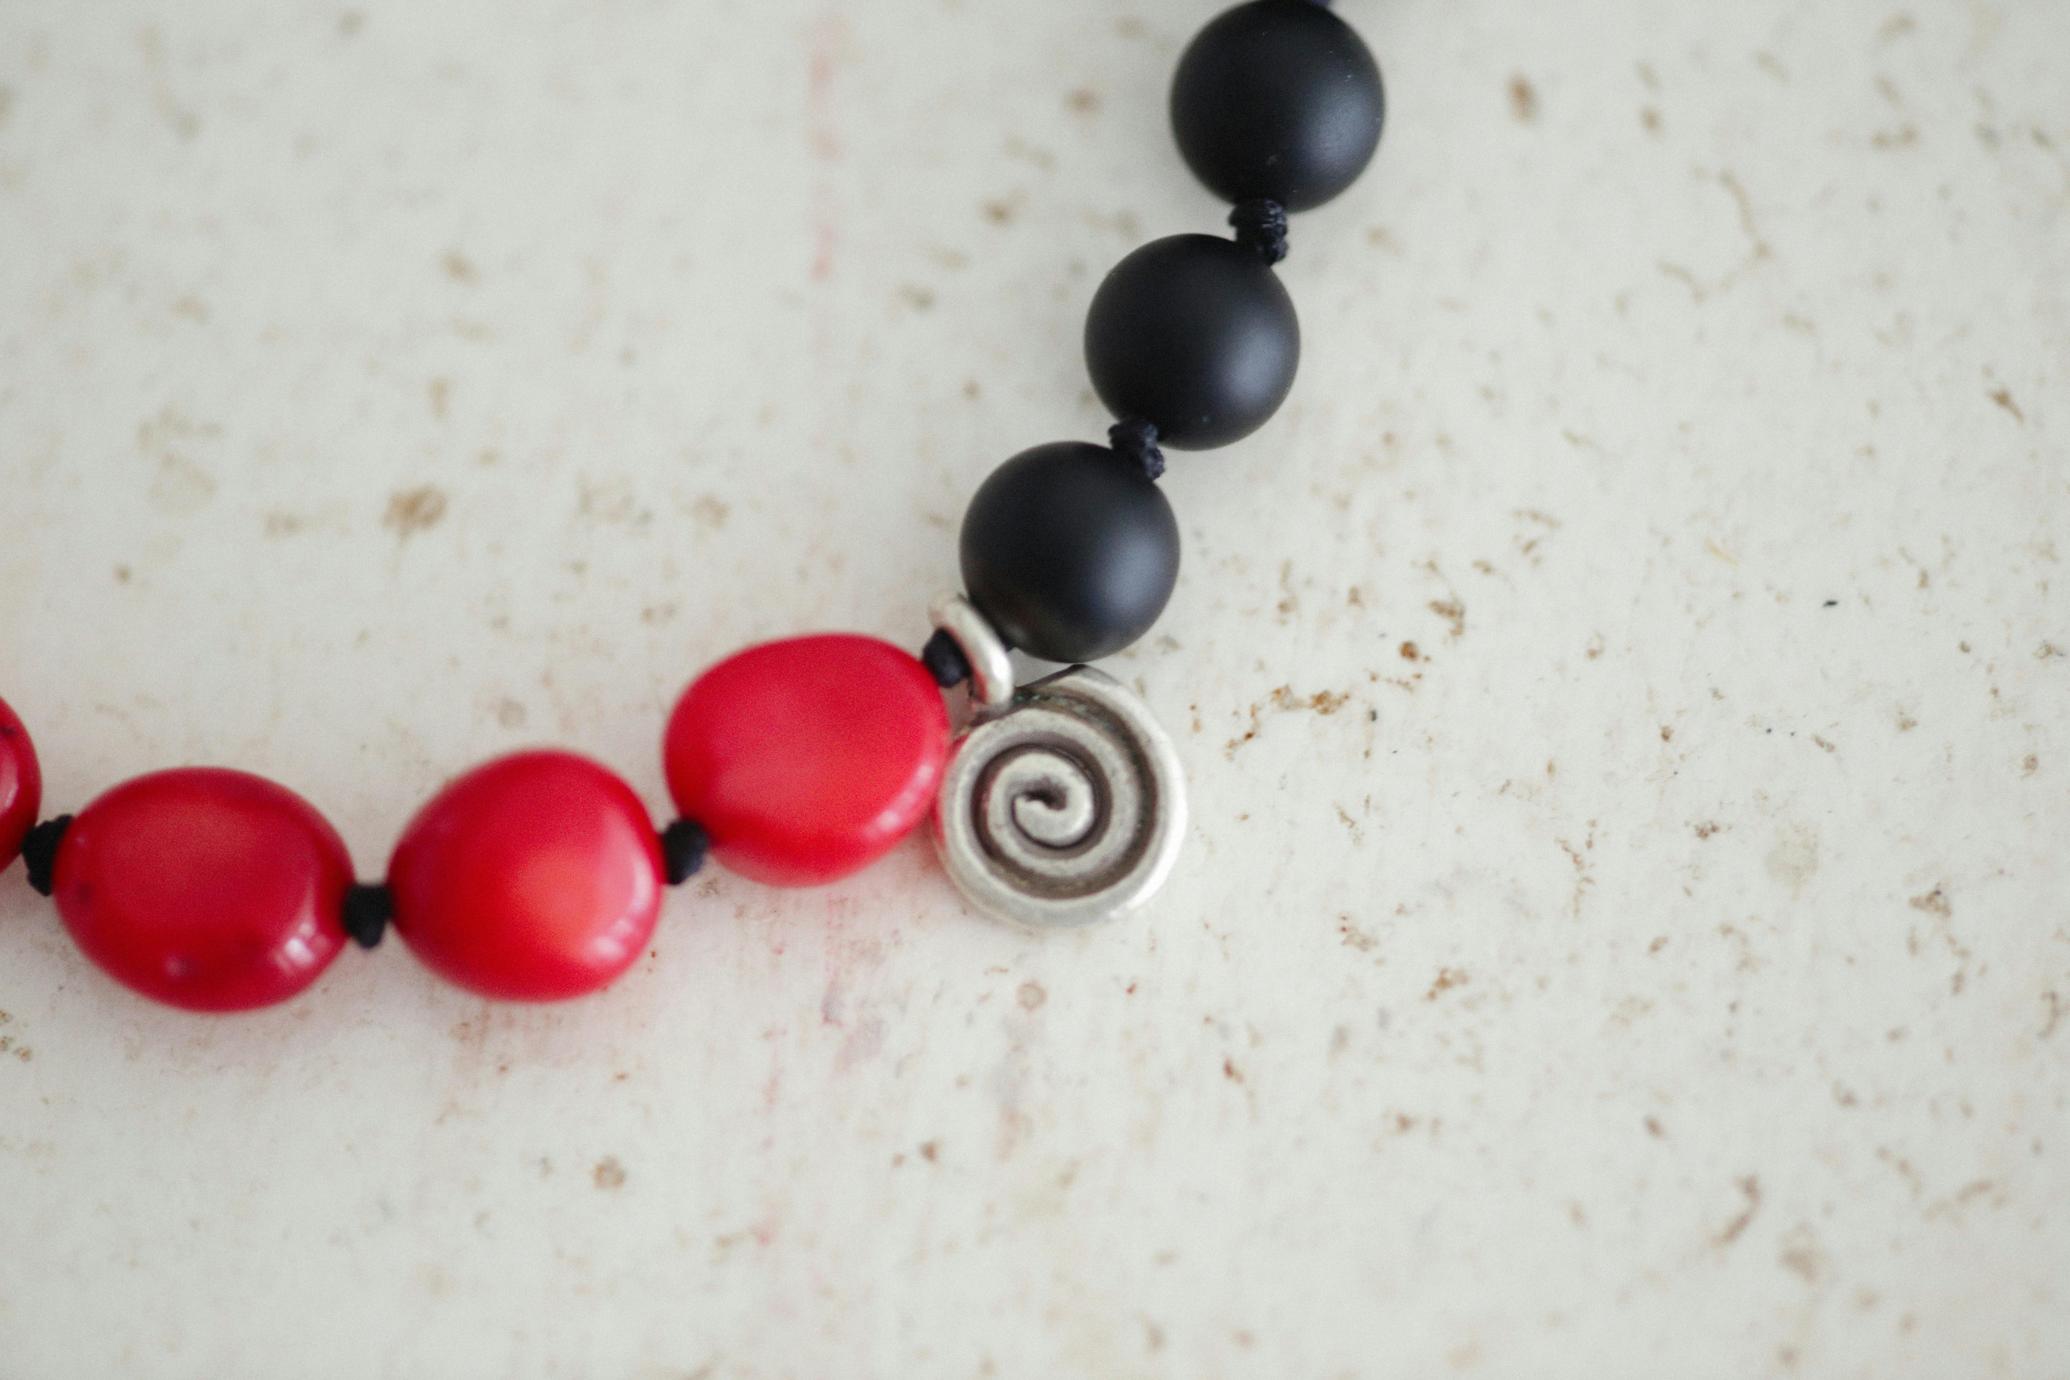
- Charms and Pendants: Attach small charms or pendants to the clasp or within the bracelet for added flair.
- Custom Colors: Use birthstone colors or personalized color schemes to make the bracelet unique.
- Initial Beads: Incorporate letter beads to spell out names or meaningful words.

Conclusion
Creating a beaded spiral bracelet is not only a fun and relaxing activity but also a way to create unique, personalized jewelry. Armed with the right materials and this detailed step-by-step guide, you are ready to unleash your creativity. Happy beading!
Frequently Asked Questions
How do I ensure my beads stay in place?
Use strong, conditioned beading thread and keep your tension steady to prevent beads from slipping out of place.
What’s the best way to choose bead colors?
Select bead colors based on a theme or personal preference. Complementary or analogous color schemes often work well.
How do I adjust the size of my bracelet?
Measure your wrist as you weave and add or remove beads in the spiral to fit your desired length.
